Creating a blog in Live Journal - Steps
2. Click on
Create
your own LiveJournal
3. Complete the registration form
4. When finished, click on the button "create journal" at the bottom
of the page, and if you filled in the correct information, you will get a
message like this:
5.Now, click on the button that says "Enter personal information"
6.You will get to this page:
Note: Give only the information you really want to share. You can upload an
image or your photo which will appear next to every entry. In the free
version, you can have up to 3 images to select from when you write an entry.
7. In the middle of the page you will be asked to give a title and subtitle to
your blog, and some privacy options:
8. When done press the "save changes" button at the bottom of the
page.
9.You will get a page with a message like this:
Note: you will receive an e-mail with a link to validate your e-mail
account, in order to have access to all the features of LJ. This message will
tell you where to go to customize your journal (see #12). In case you want to
go back to that section, see # 11.
10. Now, to customize your journal, go to "Manage Accounts" (in blue
on the photo shown above).
11. This is part of the Manage Accounts page:
12. Click on Modify Journal, under "Customization".
Note: If you want to add a links section to your blog, you need to
select the New System style (not the Old system shown below).
Then...go to the bottom of the page and click on "Links list", and
add your favorite links. (you can do this after you finish customizing your
blog:
13. On this page you can select: the page layout, the color theme, colors for
the background, fonts, links, etc. Your imagination is the limit. If you are
not satisfied with the options, you can go to:
developer
information and you will find many more choices to select from. You can
"
create
your own style. For an overview of how to create a style, see
How
do I make a custom style?"
14. Once you have finished customizing your blog (including mood icons), click
on "save changes" at the bottom of the page, and you will get a
message like this:
Note: if you don't like what you see, you can always go back and change until
you are happy!
Now you are ready to write your first entry:
1. Click on "Journal", and then on "Update". You will get
a window like this:
2. Write on the space where it says "Entry". This is for plain text,
if you want to add colors, images, links, etc, click on the "rich
text" (red square on the image above):
3. You can:
-make your entries available to all public, to only friends or private.
-check your spelling
-add a mood icon
-select a photo to show with your entry (if you have uploaded any)
-preview and edit your entry
4. When you are done, don't forget to click on "Update Journal"
5. To view your journal entry, go to "Journal" and then to
"Recent"
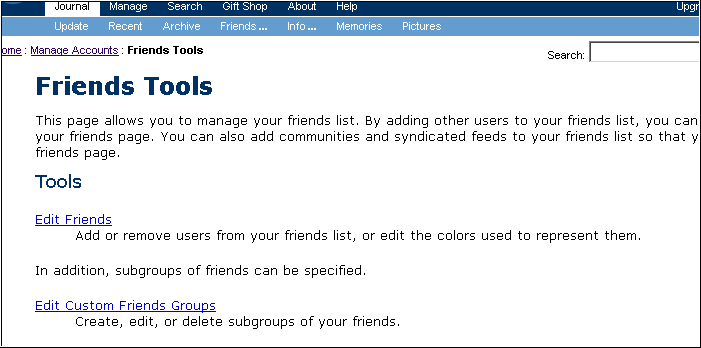
6. In LiveJournal you can have LiveJournal friends and you can read their
entries from your own blog: Go to Journal > Friends, and then to "Edit
Friends":
Dafne
August, 2005.